How to Declutter Your Shed: A Step-by-Step Guide
Share
How to Declutter Your Shed: A Step-by-Step Guide to a Tidy, Functional Space
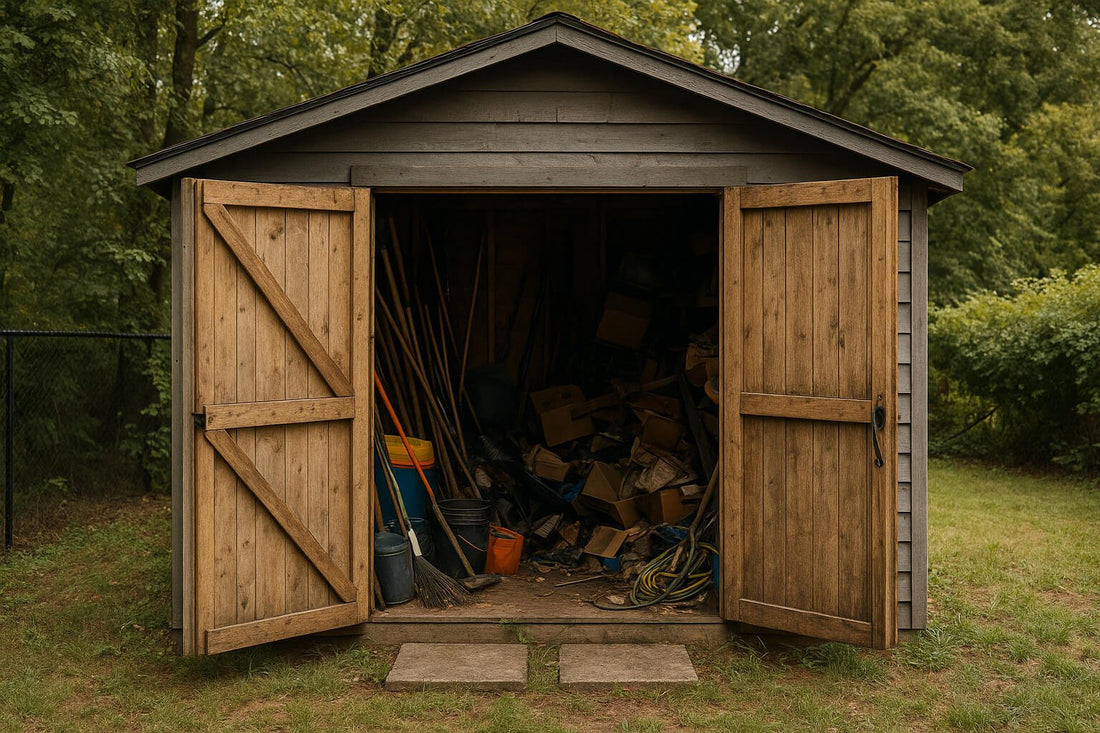
Sheds are a backyard essential — the unsung heroes of storage. But without a plan, they quickly turn into cluttered chaos filled with mystery boxes, rusty tools, and broken planters. Whether you're dealing with a small garden shed or a larger storage building, learning how to declutter your shed can give you back space, sanity, and even spark inspiration for new shed shelving ideas.
Let’s break down the process step-by-step, so you can go from cluttered to clean — and stay that way.
Step 1: Take Everything Out
Yes, everything.
Start by removing all items from the shed. This lets you see what you actually have and gives you a clean slate. As you pull things out, sort them into three basic piles:
- Keep – Useful, functioning, and used at least once a year.
- Donate/Sell – Still good, but you no longer need it.
- Toss – Broken, expired, or beyond repair.
Tip: If it’s covered in rust or you haven’t used it in two years, it’s time to let it go.
Step 2: Clean the Space
With everything out, now’s the time to:
- Sweep or vacuum the shed floor
- Wipe down surfaces and shelves
- Check for moisture damage, pests, or mold
- Repair loose boards or leaky spots in the roof
A clean, empty shed is the perfect foundation for lasting organization.
Step 3: Group & Categorize
Group your keep pile by category:
- Garden Tools – Shovels, rakes, hoes
- Lawn Equipment – Mowers, trimmers, extension cords
- DIY/Workshop Tools – Power tools, screws, drill bits
- Seasonal Items – Patio cushions, holiday lights
- Outdoor Toys or Sports Gear
This helps you identify how much storage space each group needs — and informs which shed organization systems will work best.
Step 4: Plan Your Shed Storage Strategy
Now the fun part: finding a home for everything.
Here are some smart shed shelving ideas and accessories that make a big difference:
✅ Wall-Mounted Tool Racks
Great for long-handled tools like rakes, hoes, and brooms. A garage garden tool organizer also works well here.
✅ Pegboards for Small Tools
Perfect for hanging frequently used tools — and seeing them all at once.
✅ Overhead Storage
Use ceiling hooks or loft-style shelves for rarely used seasonal items.
✅ Storage Bins with Labels
Store related small items together (gloves, seeds, cords) in clear plastic bins. Don’t forget the label maker!
✅ Adjustable Shed Shelving Units
Metal or wood shelving can handle heavier gear and can grow with your needs.
Step 5: Use Vertical Space Wisely
When square footage is limited, go vertical. Wall shed storage solutions like hanging baskets, slat walls, and even magnetic strips (for small metal tools) can free up ground space and reduce clutter.
Bonus Tip: Install a garden tool wall storage rack near the door for quick access.
Step 6: Schedule Seasonal Maintenance
The key to keeping your shed clean? Don’t let it slide.
Mark your calendar for a biannual shed check-in (spring and fall). Use this time to:
- Clean up debris
- Sharpen or oil tools
- Reassess what you're still using
Final Thoughts: Less Clutter, More Use
Decluttering your shed is about more than cleaning — it’s about creating a space that works for you. Whether you're storing garden tools, holiday décor, or power tools, having a clean and organized shed means you can find what you need, when you need it.
And if you’re ready to upgrade your shed storage, HangThis Up offers wall-mounted organizers, tool racks, and custom storage solutions that help you keep your space functional and frustration-free.
Need help organizing your shed?
Explore our best-selling shed organization tools and transform your shed in a single weekend.